
How to Maintain RV Slide-Outs So They Last Longer
RV slide-outs can completely change how a camper feels inside.
With the push of a button, a narrow travel trailer or fifth wheel can gain a larger kitchen, wider living room, extra seating, or more bedroom space. But slide-outs also combine moving mechanical parts, electrical components, seals, motors, tracks, and exterior openings that need regular attention.
Fortunately, maintaining an RV slide-out does not have to be complicated.
The most important habits are keeping the slide mechanism clean, inspecting the seals, operating the room correctly, maintaining adequate battery power, watching for leaks, and following the maintenance instructions for your RV's specific slide system.
That last point is especially important because not every RV slide-out should be lubricated the same way. Lippert, one of the major manufacturers of RV slide mechanisms, publishes separate maintenance and service information for different systems, including In-Wall, through-frame, hydraulic, and above-floor slide-outs.
Here is how to keep your RV slide-outs working smoothly for years.
Featured Image Placement
Place the featured image directly after the introduction above and before the heading "1. Know What Type of Slide-Out System You Have."
1. Know What Type of Slide-Out System You Have
Before reaching for a lubricant or making an adjustment, identify the type of slide mechanism installed on your RV.
Common designs include:
Rack-and-pinion slide systems
In-wall or Schwintek-style systems
Cable-operated slides
Hydraulic slide-outs
Above-floor electric systems
Through-frame electric systems
The correct maintenance procedure depends on the mechanism.
For example, some systems have components that benefit from specific approved lubricants, while other slide mechanisms are designed to operate without grease on their moving parts.
That means applying a general-purpose lubricant simply because a track "looks dry" can actually create problems.
Check your RV owner's manual and the slide-system manufacturer's instructions before applying anything to gears, tracks, rails, or motors.
2. Keep Slide-Out Seals Clean
The rubber seals surrounding a slide room are one of its most important components.
They help prevent rain, dust, insects, and outside air from entering the RV when the room is extended or retracted.
Over time, those seals collect:
Dirt
Tree pollen
Road grime
Leaves
Dust
Sap
Small debris
Allowing contamination to remain on the seals can contribute to wear and prevent them from making proper contact.
A&L RV Sales specifically includes deep cleaning and UV-protectant conditioning of slide-out seals as part of its current slide-out care service.
Clean the seals gently using products appropriate for RV rubber seals rather than aggressive household chemicals.
3. Inspect the Seals for Cracks and Damage
Cleaning gives you an opportunity to inspect the entire seal.
Run your eyes around the perimeter of the slide and look for:
Cracking
Tears
Hard or brittle rubber
Loose sections
Gaps
Areas that do not flip or seat correctly
Sections pulling away from the RV
A&L's used-RV inspection guidance recommends extending each slide and checking that the rubber wiper seals remain soft, pliable, and in contact around the perimeter. It also recommends checking the top of the slide box for water staining or standing moisture.
A damaged seal is not merely cosmetic.
It can become an entry point for water.
4. Protect the Seals From Sun Exposure
Slide seals spend much of their lives exposed to sunlight.
UV exposure can gradually dry rubber and reduce flexibility.
Using an RV-approved UV protectant or seal conditioner, when recommended for your particular seals, can help keep the material flexible.
Do not assume that more product is better.
Apply only products designed for the seal material and follow the manufacturer's directions.
A&L RV Sales currently offers UV-protectant conditioning specifically as part of its professional slide-out seal care service.
5. Remove Debris Before Retracting the Slide
Before bringing a slide room back inside, take a moment to check it.
Leaves, sticks, pine needles, branches, and other debris can land on the roof of an extended slide.
Retracting the room with debris still present can potentially damage seals or interfere with smooth operation.
Pay particular attention after camping:
Under trees
During fall
After storms
In heavily wooded campgrounds
If your RV uses slide toppers, inspect those as well.
A topper can reduce the amount of debris reaching the slide roof, but it does not eliminate the need for inspection.
6. Keep Tracks and Mechanisms Clean
Dirt and debris around slide mechanisms can create unnecessary resistance.
Lippert's troubleshooting guidance for its In-Wall slide system specifically advises checking the slide racks for debris or obstructions when one side of the room does not move properly.
Periodically look around accessible:
Gear racks
Tracks
Rollers
Rails
Exterior mechanism components
Remove loose dirt carefully without forcing tools into the mechanism.
If you notice metal shavings, damaged gear teeth, uneven wear, or a component that appears bent, schedule an inspection rather than continuing to cycle the slide repeatedly.
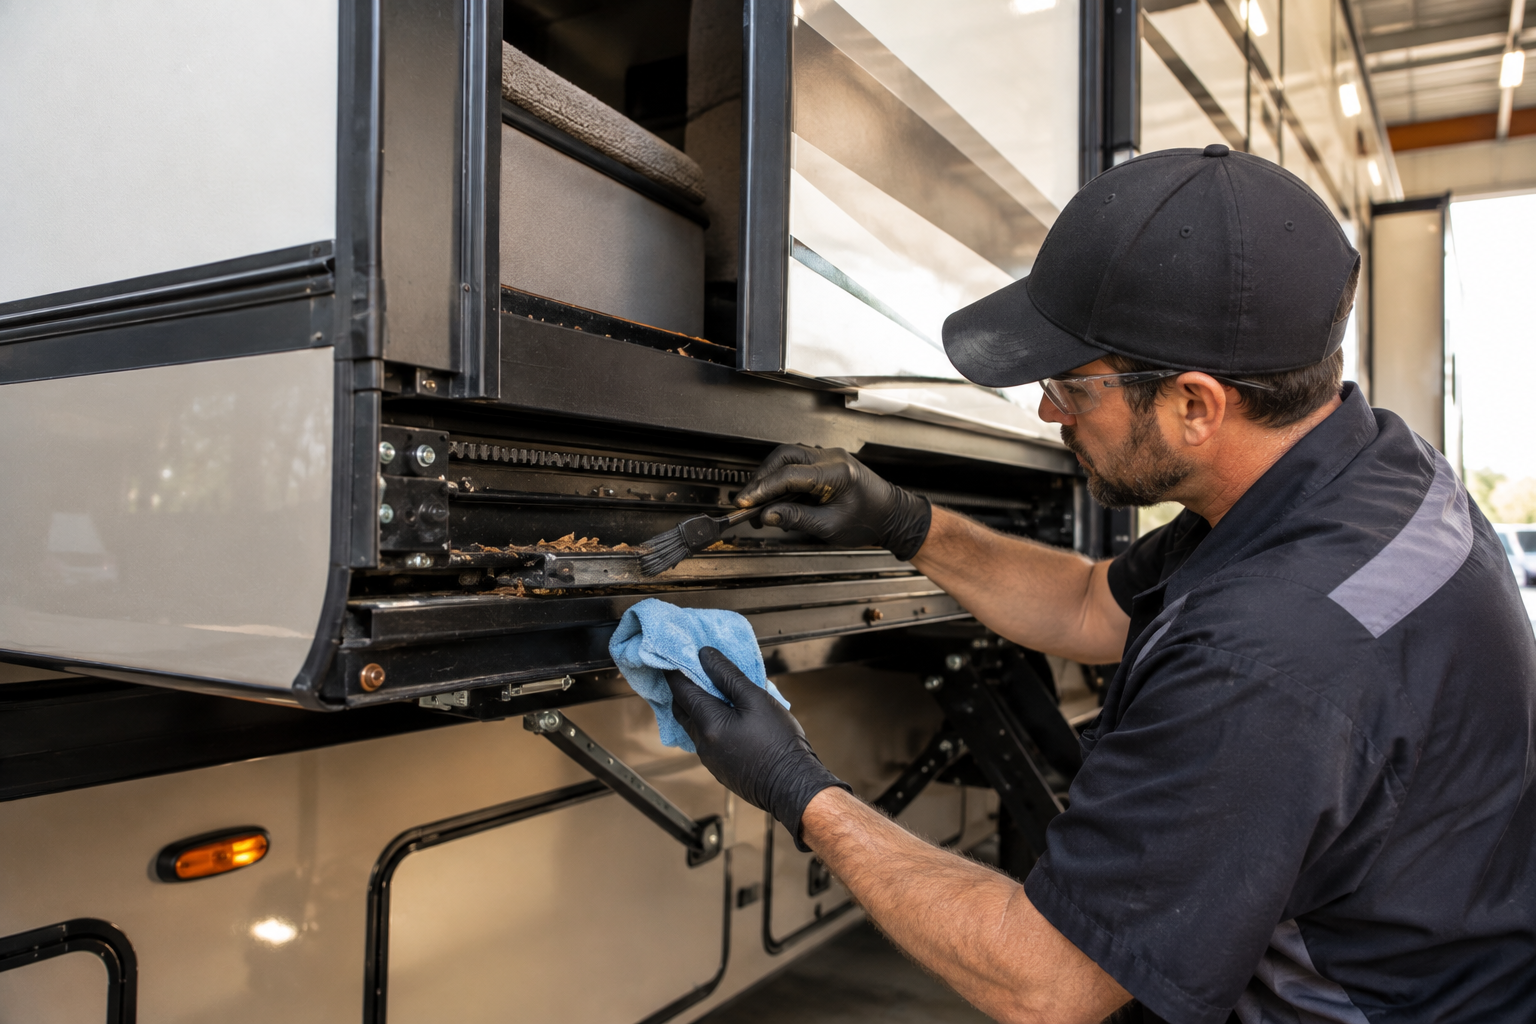
7. Be Careful With Slide-Out Lubrication
One of the biggest misconceptions about RV slide maintenance is that every slide needs regular lubrication.
It does not.
Different mechanisms have different requirements.
Lippert maintains separate manuals and service information for its various slide-out systems because maintenance procedures differ by design.
Some systems may use a manufacturer-approved dry lubricant on specific components.
Other mechanisms should remain clean and dry because oily lubricants can:
Collect dirt
Hold grit against moving parts
Contaminate components
Create unnecessary buildup
Never spray grease, silicone, or another product onto a slide mechanism without first checking the owner's manual.
When in doubt, ask an RV service technician to identify the system before servicing it.
8. Level the RV Before Operating Slide-Outs
Many RV manufacturers recommend leveling the unit before extending the slides.
An RV sitting badly twisted or significantly out of level can place additional stress on the slide room and surrounding structure.
Before extending the slides:
Park securely.
Chock the wheels.
Level the RV according to the manufacturer's instructions.
Stabilize the unit where appropriate.
Check the area outside the RV for clearance.
Extend the slide completely.
Do not use slide rooms as a substitute for leveling or stabilizing the RV.
9. Always Check for Obstacles
Slide-outs create more exterior width than many new RV owners expect.
Before pressing the switch, look outside for:
Trees
Utility pedestals
Posts
Fences
Neighboring RVs
Picnic shelters
Campground hookups
Then check inside.
A chair, cabinet door, toy, bag, or other item left in the slide's path can interfere with movement.
Creating a quick "clear inside, clear outside" habit before every operation can prevent expensive mistakes.
10. Make Sure Your Battery Is Healthy
Electric slide systems depend on reliable electrical power.
A weak battery can result in slow or inconsistent slide movement.
If you notice the slide suddenly moving more slowly than usual, do not immediately assume the motor is failing.
Check the RV battery and electrical system.
Lippert's slide documentation emphasizes proper electrical connections and voltage requirements for electric slide systems.
Corroded battery terminals, poor connections, a discharged battery, or damaged wiring can all affect operation.
11. Extend and Retract the Slide Fully
Unless the manufacturer specifies otherwise, operate the slide through its full intended travel rather than repeatedly stopping it halfway.
Some synchronized slide systems rely on correct operating procedures to keep both sides moving together.
If one side of the slide begins traveling faster than the other, stop and consult the system instructions.
Lippert notes that an In-Wall slide that becomes uneven may need the racks inspected for obstructions and the motors re-synchronized.
Continuing to force an uneven room can make the problem worse.
12. Listen to the Slide Every Time You Use It
You will quickly learn what a healthy slide-out sounds like.
Pay attention when that sound changes.
Warning noises can include:
Grinding
Popping
Clicking
Squealing
Repeated motor strain
Sudden banging
A slide that has always moved smoothly should not suddenly require extra effort.
Changes in speed or sound often provide an early warning before a larger failure occurs.
13. Check for Water Around the Slide
Water intrusion is one of the most serious issues an RV can develop.
Inspect around the slide after heavy rain.
Check:
Floor around the slide
Lower corners
Walls beside the slide
Ceiling areas
Cabinets near the slide
Top of the slide box where visible
Watch for stains, softness, swelling, musty odors, or damp carpet.
A&L's RV inspection guidance specifically identifies slide seals and moisture around the slide box as areas that should be inspected when looking for hidden water problems.
Early detection can make the difference between replacing a seal and repairing structural water damage.
14. Do Not Ignore a Slide That Moves Unevenly
A slide should generally move smoothly and evenly.
Schedule an inspection if you notice:
One side moving ahead of the other
Room tilting noticeably
Slide stopping repeatedly
Motor continuing without movement
Room failing to seal properly
Visible gear or track damage
These problems can involve synchronization, electrical components, motors, gears, cables, rollers, or structural alignment.
This is the point where repeated DIY experimentation can become more expensive than professional diagnosis.
How Often Should You Maintain RV Slide-Outs?
There is no maintenance interval that applies to every slide mechanism.
Follow the schedule in the RV and component manufacturer's manuals.
As a practical habit, inspect the slide seals and visible components regularly during the camping season and after extended storage.
A good time to perform a detailed inspection is:
At the beginning of camping season
Before a long road trip
After extended storage
After camping in dusty conditions
After severe weather
Before winter storage
A&L RV Sales emphasizes following the maintenance intervals provided in the RV owner's manual rather than applying one universal schedule to every camper.
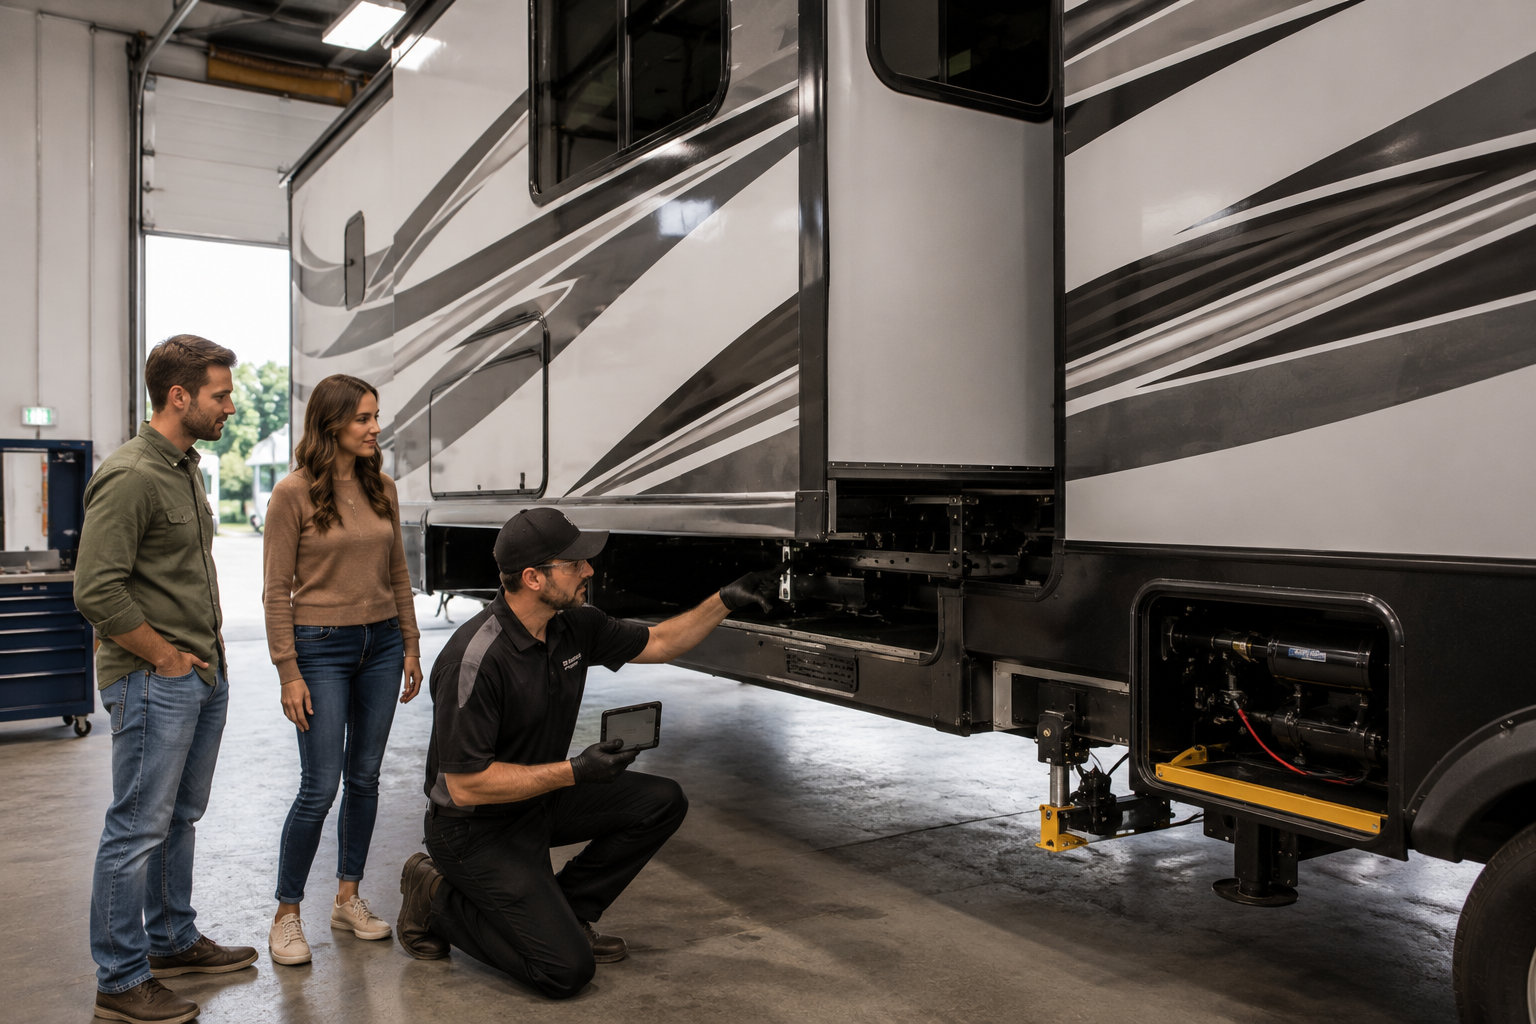
When Should an RV Technician Inspect Your Slide-Out?
Some maintenance is easy for owners.
Mechanical repairs are another matter.
Have the slide professionally inspected if it:
Will not extend
Will not retract
Stops partway
Moves unevenly
Makes unusual noises
Damages seals
Leaks repeatedly
Shows damaged gears or tracks
Blows electrical fuses
Requires repeated manual overrides
A&L RV Sales provides professional service and preventative maintenance for RV systems and currently offers a dedicated slide-out care service focused on seal cleaning and UV protection.
Simple Habits That Help RV Slide-Outs Last Longer
Most slide-out longevity comes down to consistent habits.
Before operating the slide:
Level the RV when required.
Check inside and outside for obstructions.
Make sure the battery is adequately charged.
While operating:
Watch the room move.
Listen for unusual sounds.
Allow the slide to complete its normal travel.
During routine maintenance:
Clean the seals.
Inspect for cracks.
Check for moisture.
Remove debris.
Inspect visible tracks and mechanisms.
Use only manufacturer-approved maintenance products.
Those few steps can help catch small problems before they become major repairs.
Final Thoughts
RV slide-outs are designed to provide years of additional living space, but they should not be treated as completely maintenance-free.
The most important rule is simple:
Know which slide-out system your RV uses and follow the maintenance procedure designed for that system.
Keep seals clean, inspect them for damage, remove debris, maintain good electrical power, operate the room correctly, and investigate unusual noises or uneven movement early.
A&L RV Sales operates service and parts support across eight locations in Tennessee, Georgia, North Carolina, and Virginia, and its current service offerings include dedicated slide-out seal cleaning and conditioning.
A little preventive care is much easier than dealing with a slide room that refuses to retract on the morning you are supposed to leave the campground.
Frequently Asked Questions
Should You Lubricate RV Slide-Outs?
It depends on the slide system.
Some mechanisms have specific lubrication requirements, while others should not be greased. Identify the manufacturer and model of your slide system and follow its maintenance instructions. Lippert publishes separate documentation for multiple slide designs for this reason.
What Should I Put on RV Slide-Out Seals?
Use only a cleaner or conditioner that is compatible with the seal material and recommended for RV use. A&L RV Sales currently uses UV-protectant conditioning as part of its slide-out seal care service.
Why Is My RV Slide-Out Moving Slowly?
Possible causes include low battery voltage, poor electrical connections, an obstruction, mechanical resistance, or a developing motor or mechanism problem. If cleaning accessible debris and verifying power does not resolve the issue, have the system inspected.
Why Is One Side of My Slide-Out Moving Faster?
Some synchronized slide systems can move unevenly if the motors become out of sync or if debris interferes with the racks. Lippert recommends checking for obstructions and following its synchronization procedure for affected In-Wall systems.
Should I Level My RV Before Extending the Slides?
Follow your RV manufacturer's instructions. Many systems are intended to be operated with the RV properly positioned and leveled to reduce unnecessary structural stress.
How Do I Know if My Slide Seal Is Bad?
Look for cracks, tears, hardened rubber, gaps, loose sections, or areas that fail to make full contact with the slide room. Also watch for water staining or moisture around the slide. A&L recommends inspecting slide seals for flexibility and complete contact when evaluating RV condition.