
How to Winterize a Travel Trailer: A Complete Step-by-Step Guide
Skipping winterization is one of the most expensive mistakes a travel trailer owner can make. A single hard freeze can burst water lines, crack fittings, and destroy a water heater — repairs that can easily run into the thousands. The good news: winterizing your travel trailer is a straightforward process you can do yourself in two to three hours with the right supplies.
Here's exactly how to do it correctly.
What You'll Need Before You Start
Gather these supplies before getting started. Having everything on hand saves time and ensures you don't skip a step mid-process.
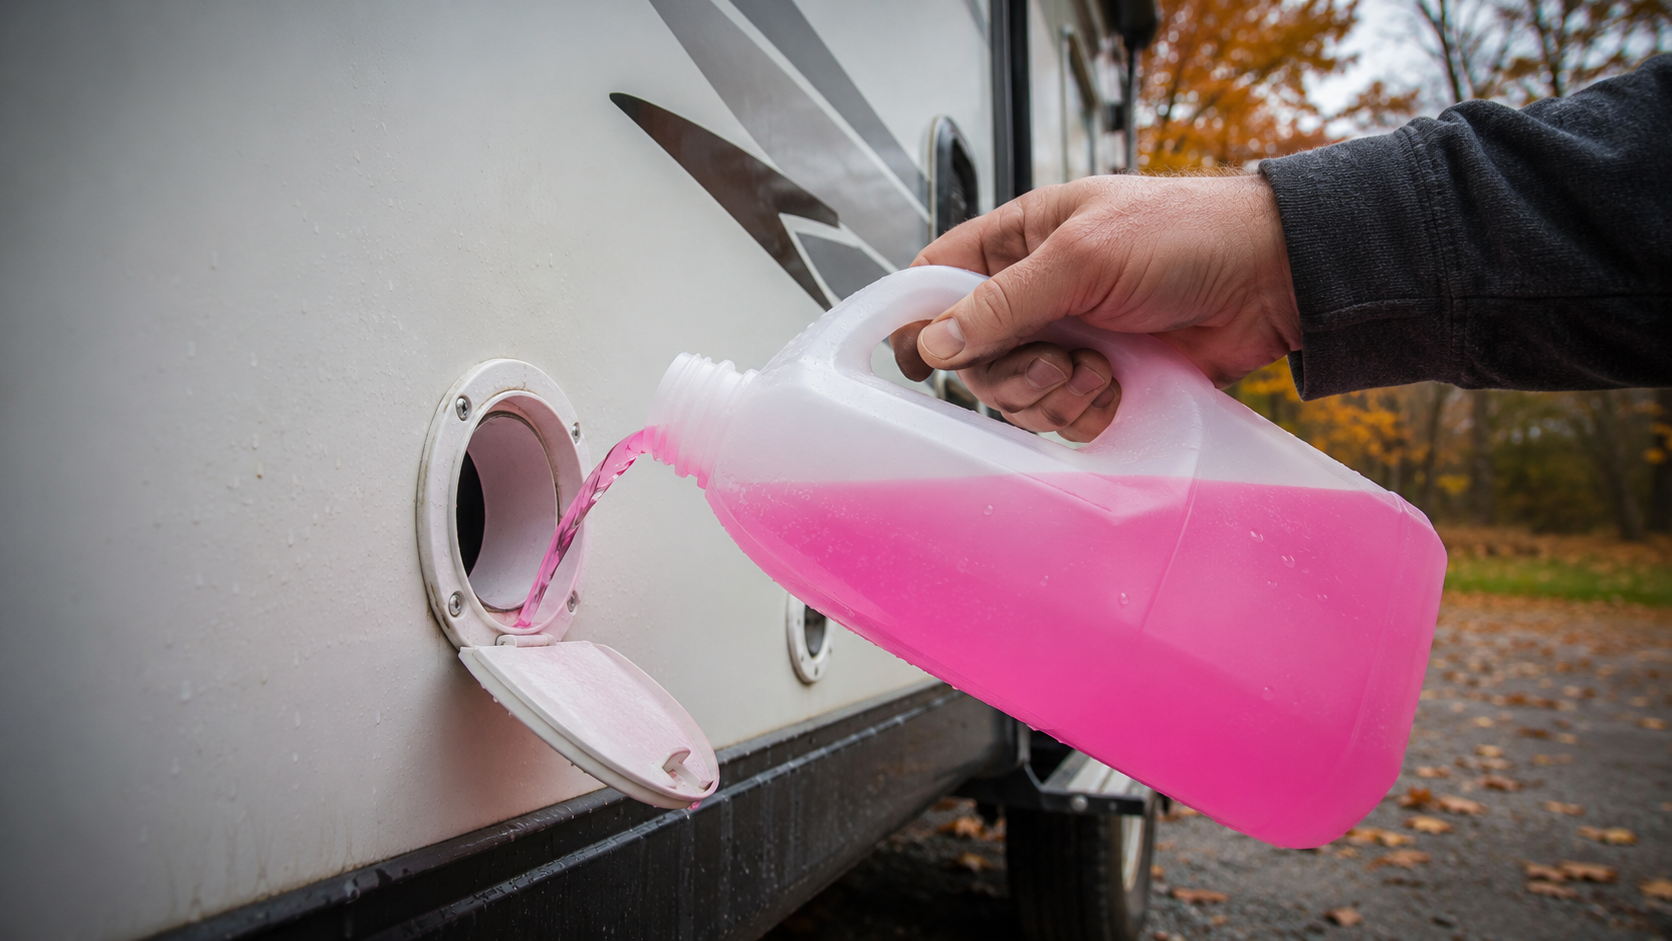
2–4 gallons of non-toxic, RV-specific antifreeze (the pink kind — never use automotive antifreeze)
Water heater bypass kit (if not already installed)
Air compressor (optional, for the blow-out method)
Basic hand tools and a wrench for drain plugs
Bucket and work gloves
Water heater bypass kit
One important note: always use antifreeze labeled specifically for RV/marine use. Automotive antifreeze is toxic to humans and animals and will contaminate your entire water system.
Two Winterizing Methods: Which One Is Right for You?
There are two accepted approaches to winterizing a travel trailer's plumbing. Both work — your choice depends on your equipment and comfort level.
Wet Winterizing (Antifreeze Method): Pumps non-toxic RV antifreeze through all water lines, fixtures, and drains. Most commonly used because it's thorough and doesn't require an air compressor.
Dry Winterizing (Blow-Out Method): Uses compressed air to force all water out of the lines before adding a small amount of antifreeze to the drains and tanks. Faster, uses less antifreeze, but requires a compressor and careful technique.
Most first-time winterizers use the wet antifreeze method. We'll walk through that process step by step below, with notes on where the blow-out method differs.
Step-by-Step: How to Winterize Your Travel Trailer
Step 1: Empty and Drain All Holding Tanks
Start by dumping all three tanks — fresh water, gray water, and black water — at a proper RV dump station. Never dump gray or black water on the ground; it's a health hazard and illegal in most areas.
Once tanks are emptied, open all low-point drain valves (usually located under the trailer in the underbelly access panels) to remove any remaining water from the lines. Leave them open until the flow stops completely.
Step 2: Drain the Water Heater
Turn off the water heater at least 30 minutes before you start — you need it to cool down before draining. Never drain a hot water heater under pressure.
Once cool, remove the drain plug (usually a large plastic or brass plug on the outside of the trailer near the water heater compartment) and let it drain fully. Use a socket wrench to remove the anode rod if your unit has one — inspect it while you're in there.
Step 3: Install or Activate the Water Heater Bypass
This step is critical. If you skip it, you'll pump antifreeze into your water heater tank — which holds 6–10 gallons and will needlessly consume most of your antifreeze supply.
Most modern travel trailers have a bypass valve already installed near the water heater. Simply rotate the bypass valve to the bypass position to redirect flow away from the heater. If your trailer doesn't have one, a bypass kit is a worthwhile addition you can install in under an hour.
Step 4: Remove the Water Filter
If your trailer has an inline water filter, remove and discard the filter cartridge before proceeding. Antifreeze passing through a filter can damage the filtration media. Reconnect the line once the filter cartridge is removed.
Step 5: Connect the Antifreeze Pump
You have two options here:
Pump converter kit: Attaches to your water pump's inlet line, allowing you to draw antifreeze directly from the jug
Fresh water tank method: Pour antifreeze directly into the fresh water tank and let the pump distribute it through the lines
The pump converter kit is more efficient and uses less antifreeze. If you plan to do this annually, it's worth the small upfront investment.
Step 6: Run Antifreeze Through Every Fixture
With the pump running, open faucets one at a time — starting with those closest to the pump — and run both the hot and cold handles until you see pink antifreeze flowing from each one. Then close the faucet and move to the next.
Work through every fixture in this order:
Kitchen sink (hot and cold)
Bathroom sink (hot and cold)
Shower or bathtub (hot and cold)
Toilet — flush until pink antifreeze appears in the bowl
Outdoor shower (if equipped)
Ice maker or dishwasher line (if equipped)
Any exterior water hookups or hose bibs
Don't rush this step. Missing a fixture means a water pocket that can freeze and crack a fitting.
Step 7: Protect the P-Traps and Drains
Pour approximately one cup of RV antifreeze directly down each sink drain, the shower drain, and into the toilet bowl. This protects the P-traps — the curved sections of drain pipe that hold standing water — from freezing.
Step 8: Protect the City Water Inlet
On the exterior of your trailer, locate the city water inlet connection. Press the valve inward until you see antifreeze flowing out. This ensures the inlet line is protected as well.
Step 9: Turn Off and Disconnect the Water Pump
Once all fixtures have been treated, turn off the water pump. Open a faucet briefly to release any remaining pressure in the system. Close all faucets and ensure all drain valves are closed.
Step 10: Winterize the Remaining Systems
Plumbing is the main event — but don't stop there. Complete winterization includes these additional steps:
Water heater: Turn off the electric heating element if your trailer has an electric water heater. Leave the bypass valve in place.
Battery: Disconnect and remove the battery if storing for more than a few weeks. Store it in a cool, dry garage and use a battery maintainer to prevent discharge.
Tires: Inflate to the recommended pressure, then park on tire blocks or rubber pads to prevent flat-spotting on cold concrete. Cover tires to protect from UV.
Refrigerator: Clean it out thoroughly, prop the door open slightly to prevent mold and odor, and turn it off at the circuit breaker.
Roof and seals: Before storing for winter, inspect all roof seams, vent covers, and exterior seals. Apply fresh lap sealant wherever you see cracking or separation. This is your last line of defense against water intrusion during winter months.
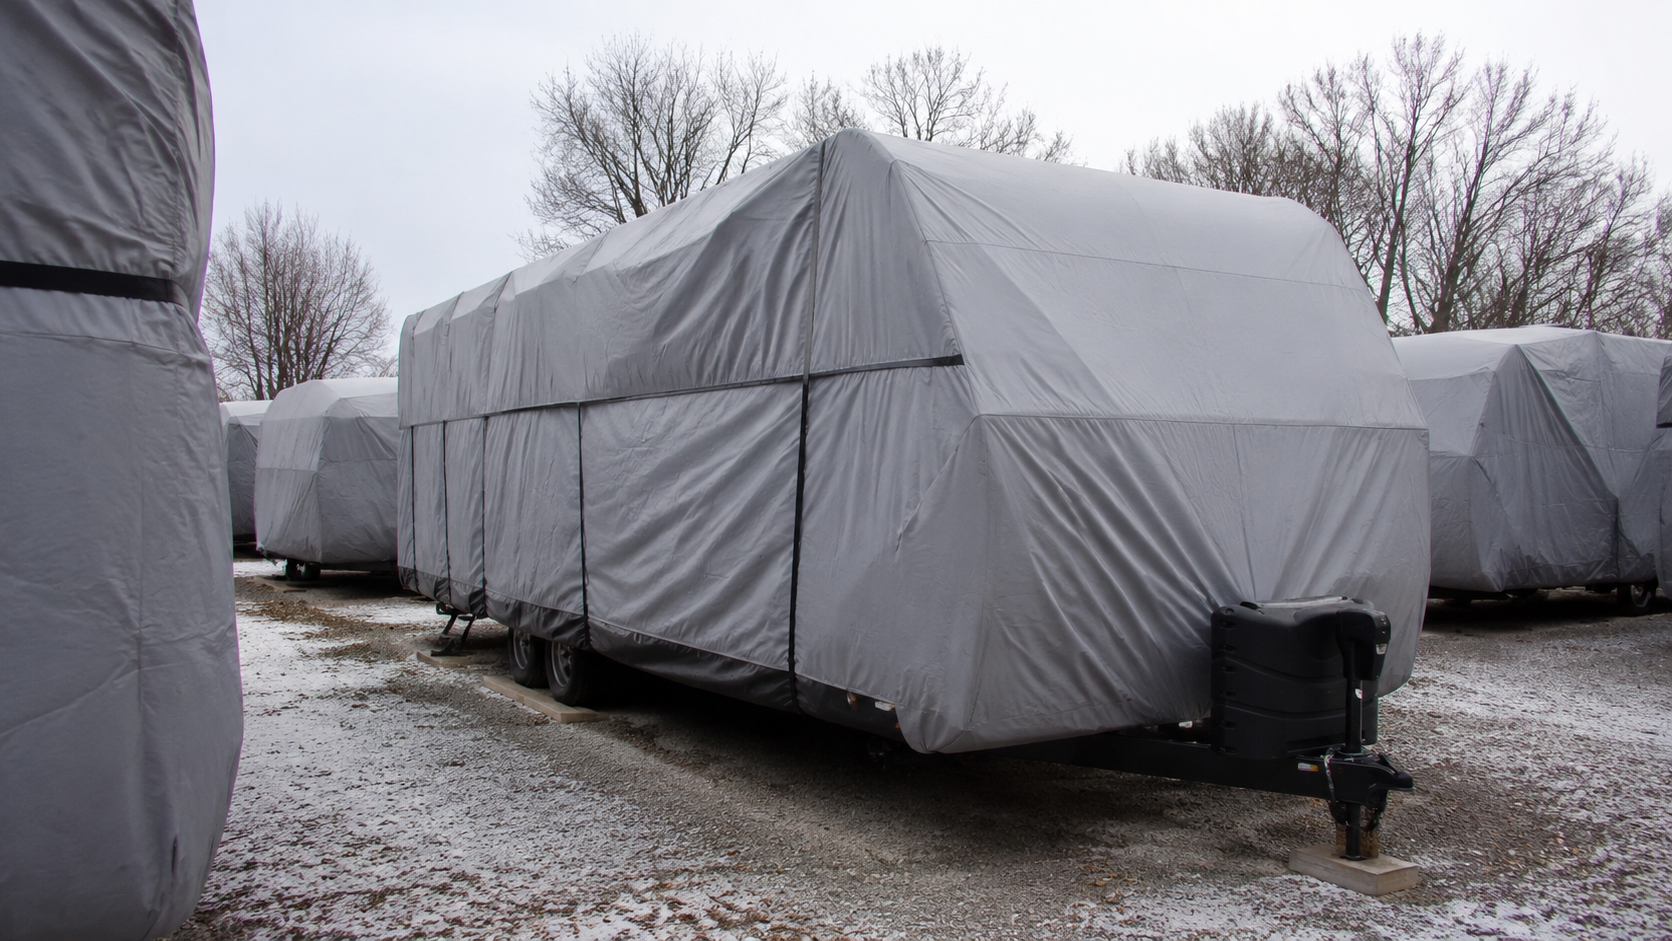
RV cover or storage: If you're storing outside, use a breathable RV cover to protect the exterior from UV, snow, and ice. An indoor or covered storage facility is ideal.
Common Winterizing Mistakes to Avoid
Even experienced RV owners occasionally miss these:
Forgetting the water heater bypass — results in wasting several gallons of antifreeze and potential damage
Using automotive antifreeze — never substitute this; it's toxic and will contaminate every line in your trailer
Skipping the P-traps — standing water in drains is easy to overlook and easy to freeze
Not draining the fresh water tank first — dilutes your antifreeze and reduces its effectiveness
Leaving batteries connected — leads to deep discharge over a long storage period, permanently damaging battery capacity
Not inspecting roof seals — water intrusion over winter is the most common and most expensive damage to repair in spring
When Should You Winterize?
Winterize your travel trailer when nighttime temperatures are consistently forecast to drop below 32°F (0°C) in your storage area. Don't wait for the first freeze — water trapped in lines can freeze and crack before you even notice the temperature has dropped.
For most of the Southeast — including Tennessee, Georgia, Virginia, and North Carolina — that typically means getting winterization done between late October and mid-November.
Ready to Get Your RV Winter-Ready?
If you're not sure about your trailer's water heater bypass setup, plumbing configuration, or want a professional to handle winterization before storage, A&L RV Sales' service team is here to help. We serve RV owners across eight locations in Tennessee, Georgia, Virginia, and North Carolina.
And if you're in the market for a new or pre-owned travel trailer heading into the off-season — this is often the best time of year to find great deals. Browse our travel trailer inventory and see what's available at a location near you.